Setting up a new printer can often seem like a daunting task, but with a step-by-step approach, you can quickly get your printer ready for action. This guide will walk you through the essential procedures for installing and configuring your printer, ensuring a seamless printing experience.
Unboxing and Initial Setup
-
Unpack the Printer: Carefully open the packaging and remove the printer and all its components. Make sure you have all the necessary parts such as the power cord, cartridges, manuals, and any included cables.
-
Remove Protective Material: Gently peel away any tape or protective materials around the printer. This packaging is often used to protect the device during transit and can be found on moving parts such as the paper tray and scanner lid.
-
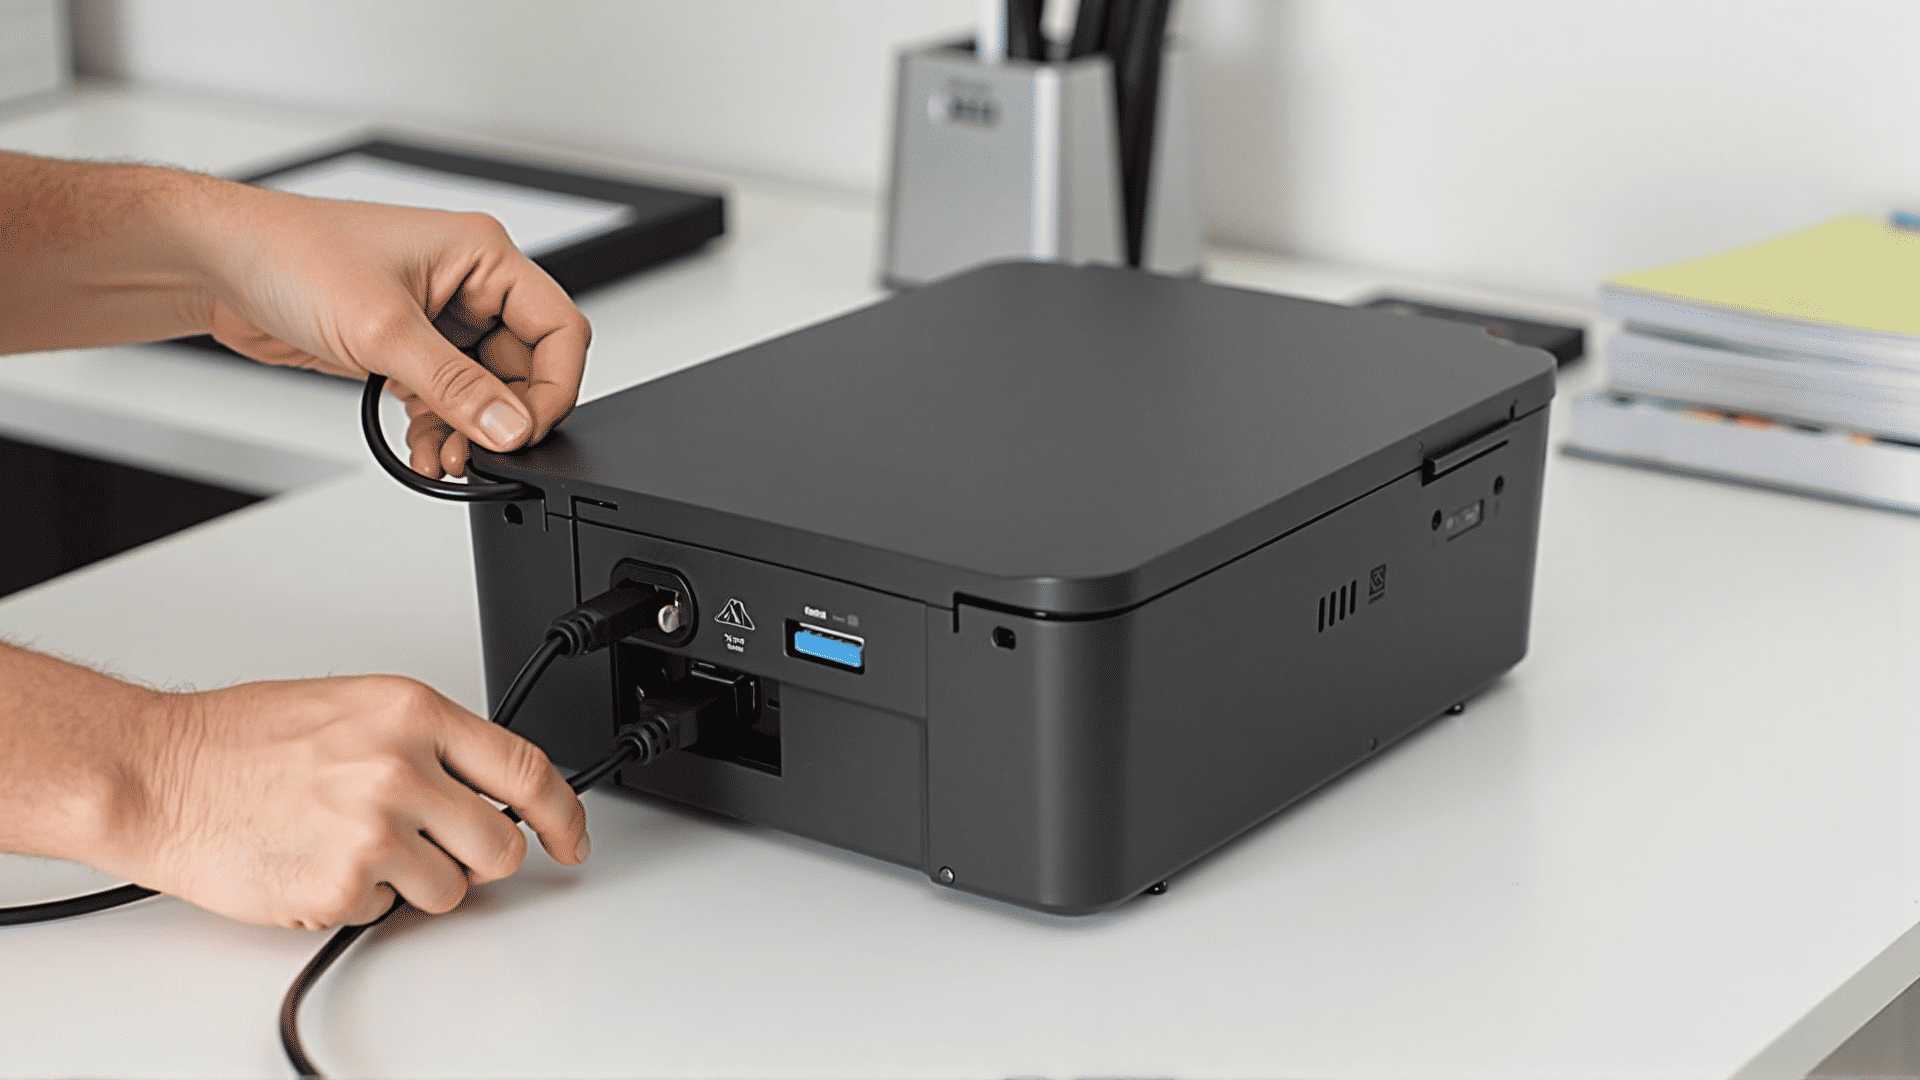
Connect Power: Plug the power cord into the printer and then into a power outlet. Turn on the printer using the power button, which is typically located on the front or side of the machine.
Installing Printer Cartridges
-
Access Cartridge Compartment: Open the printer cover or front panel to reveal the cartridge compartment. Refer to the printer manual if you're unsure where this is located.
-
Insert Ink or Toner Cartridges: Remove the new cartridges from their packaging. Carefully install them into the appropriate slots, ensuring they click into place securely. Some printers may require you to push down a lever to lock the cartridges.
-
Run an Alignment: Many printers offer the option to run an alignment process. This helps ensure that the print heads are properly aligned for optimal print quality. Follow the on-screen prompts or manual instructions to complete this step.
Connecting to a Computer or Network
-
Via USB: For a wired connection, insert the USB cable into the printer and then into the computer. This type of connection is usually straightforward, with the operating system often recognizing the printer automatically.
-
Wireless Setup: For Wi-Fi capable printers, use the printer’s control panel to navigate to the network settings. Look for an option to connect to a wireless network, and select your network from the list. Enter the Wi-Fi password when prompted.
-
Install Drivers and Software: Insert the installation CD if your printer came with one, or visit the manufacturer’s website to download the latest printer drivers and software. Follow the on-screen instructions to complete the installation.
Configuring Printer Settings
-
Set Preferences: Access the printer settings on your computer to adjust preferences such as paper size, print quality, and color settings. These options can usually be found under the “Printers & Scanners” section of your computer’s settings.
-
Test Print: Conduct a test print to ensure everything is functioning properly. This can often be done from within the printer settings or directly from software like a word processor or image viewer.
-
Routine Maintenance: Familiarize yourself with routine maintenance tasks such as cleaning the print heads and checking ink levels. Regular upkeep ensures the longevity and efficiency of your printer.
Conclusion
With these steps, setting up your printer doesn't have to be overwhelming. By following this guide, you'll be ready to start printing efficiently with minimal hassle. Whether you are connecting a simple home printer or setting up a more complex networked device, attention to detail during setup will ensure a smoother, error-free experience.