Setting up a printer can sometimes feel like a daunting task, especially with the wide variety of brands and models available. However, by following some basic steps, the process can be smooth and straightforward. This guide will help you set up your printer efficiently and get it ready for everyday use.
Unboxing and Preparing Your Printer
1. Unbox Your Printer: Begin by carefully unpacking your printer. Remove all tape, packing materials, and protective coverings. Make sure you have all the components, including power cables, cartridges, and installation guides that typically accompany the printer.
2. Choose a Location: Select a suitable spot for your printer. Ensure that there is enough space around it for ventilation and paper handling. Also, consider proximity to a power outlet and a network connection if required.
Connecting Your Printer
3. Power Connection: Plug the power cord into the printer and then into a wall outlet. Turn on the printer using the power button, usually located on the front or top of the device.
4. Install Ink or Toner Cartridges: Open the printer cover and insert the ink or toner cartridges into their designated slots. Follow the instructions specific to your printer model to ensure correct placement and installation.
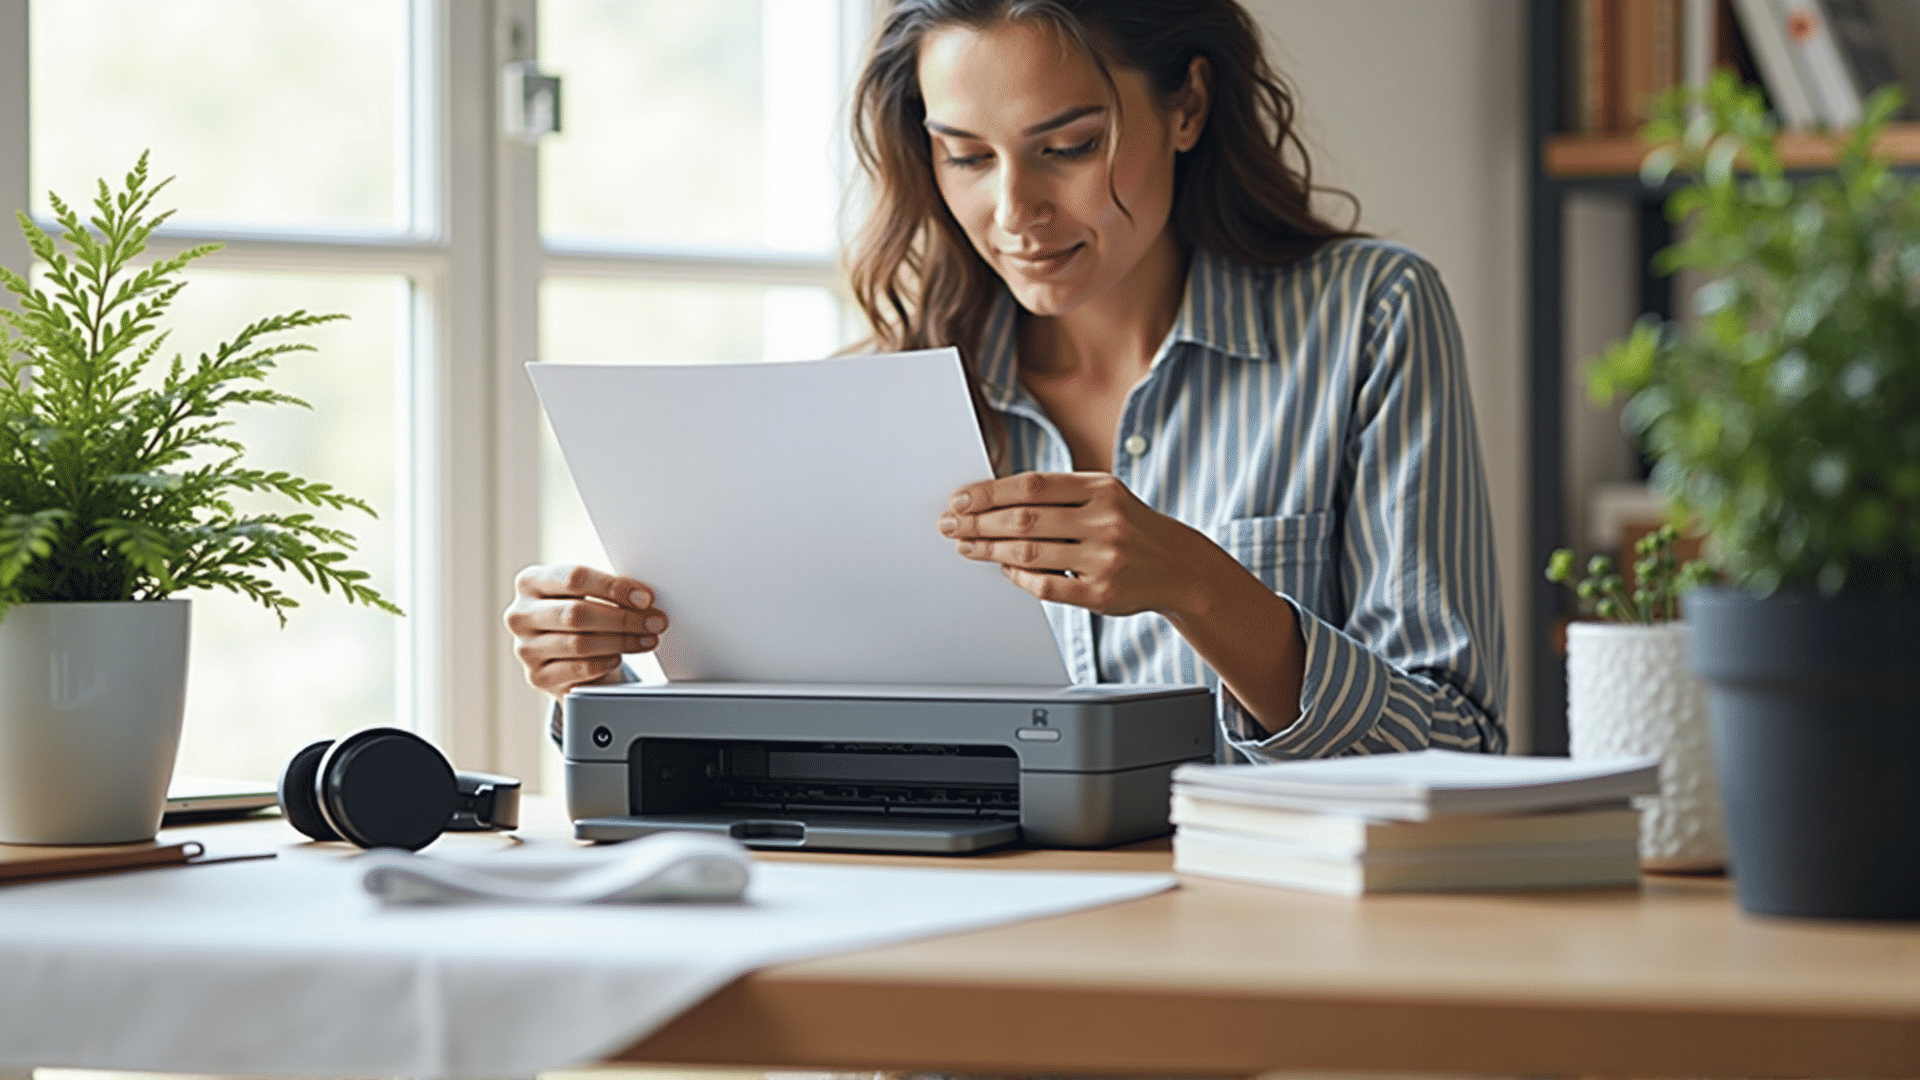
5. Load Paper: Place a stack of suitable paper in the paper tray. Adjust the paper guides so that the paper fits snugly and does not shift during printing.
Configuring Your Printer
6. Driver Installation: Most printers require a driver to function properly. Depending on your printer model, drivers can be found on the provided CD or the manufacturer’s website. Install the driver on your computer and follow the on-screen instructions.
7. Connect via USB or Network:
- USB Connection: Connect the printer to your computer using a USB cable. The computer should automatically detect the printer and complete the setup.
- Network or Wireless Connection: For networked or wireless printers, use the control panel to connect to your Wi-Fi network. Select the network name, and input the password as necessary. Follow specific instructions for your model to set up the wireless connection correctly.
Testing and Calibration
8. Print a Test Page: Once connected, print a test page to ensure the printer is operating correctly. Most printers have this option in the settings menu.
9. Calibration: Some printers might require calibration for optimal print quality. Follow specific instructions for your printer model to complete this step.
Troubleshooting Common Issues
10. Troubleshoot if Necessary: If you encounter issues, don’t panic. Recheck connections, ensure that the driver is correctly installed, and verify that your computer is communicating with the printer. Consult the manual or online resources for specific troubleshooting tips.
By following these steps, your printer should be ready for use. Remember, each printer model might have particular instructions or features, so always refer to the manual provided by the manufacturer for detailed information. Enjoy your printing experience now that your device is set up and ready for action!