Configuring your wireless printer to sync flawlessly with your network and devices unlocks a world of convenience and efficiency. Whether you're a tech aficionado or a novice eager to embrace wireless technology, these straightforward steps will guide you through the process.
1. Understanding Your Printer's Connectivity Options
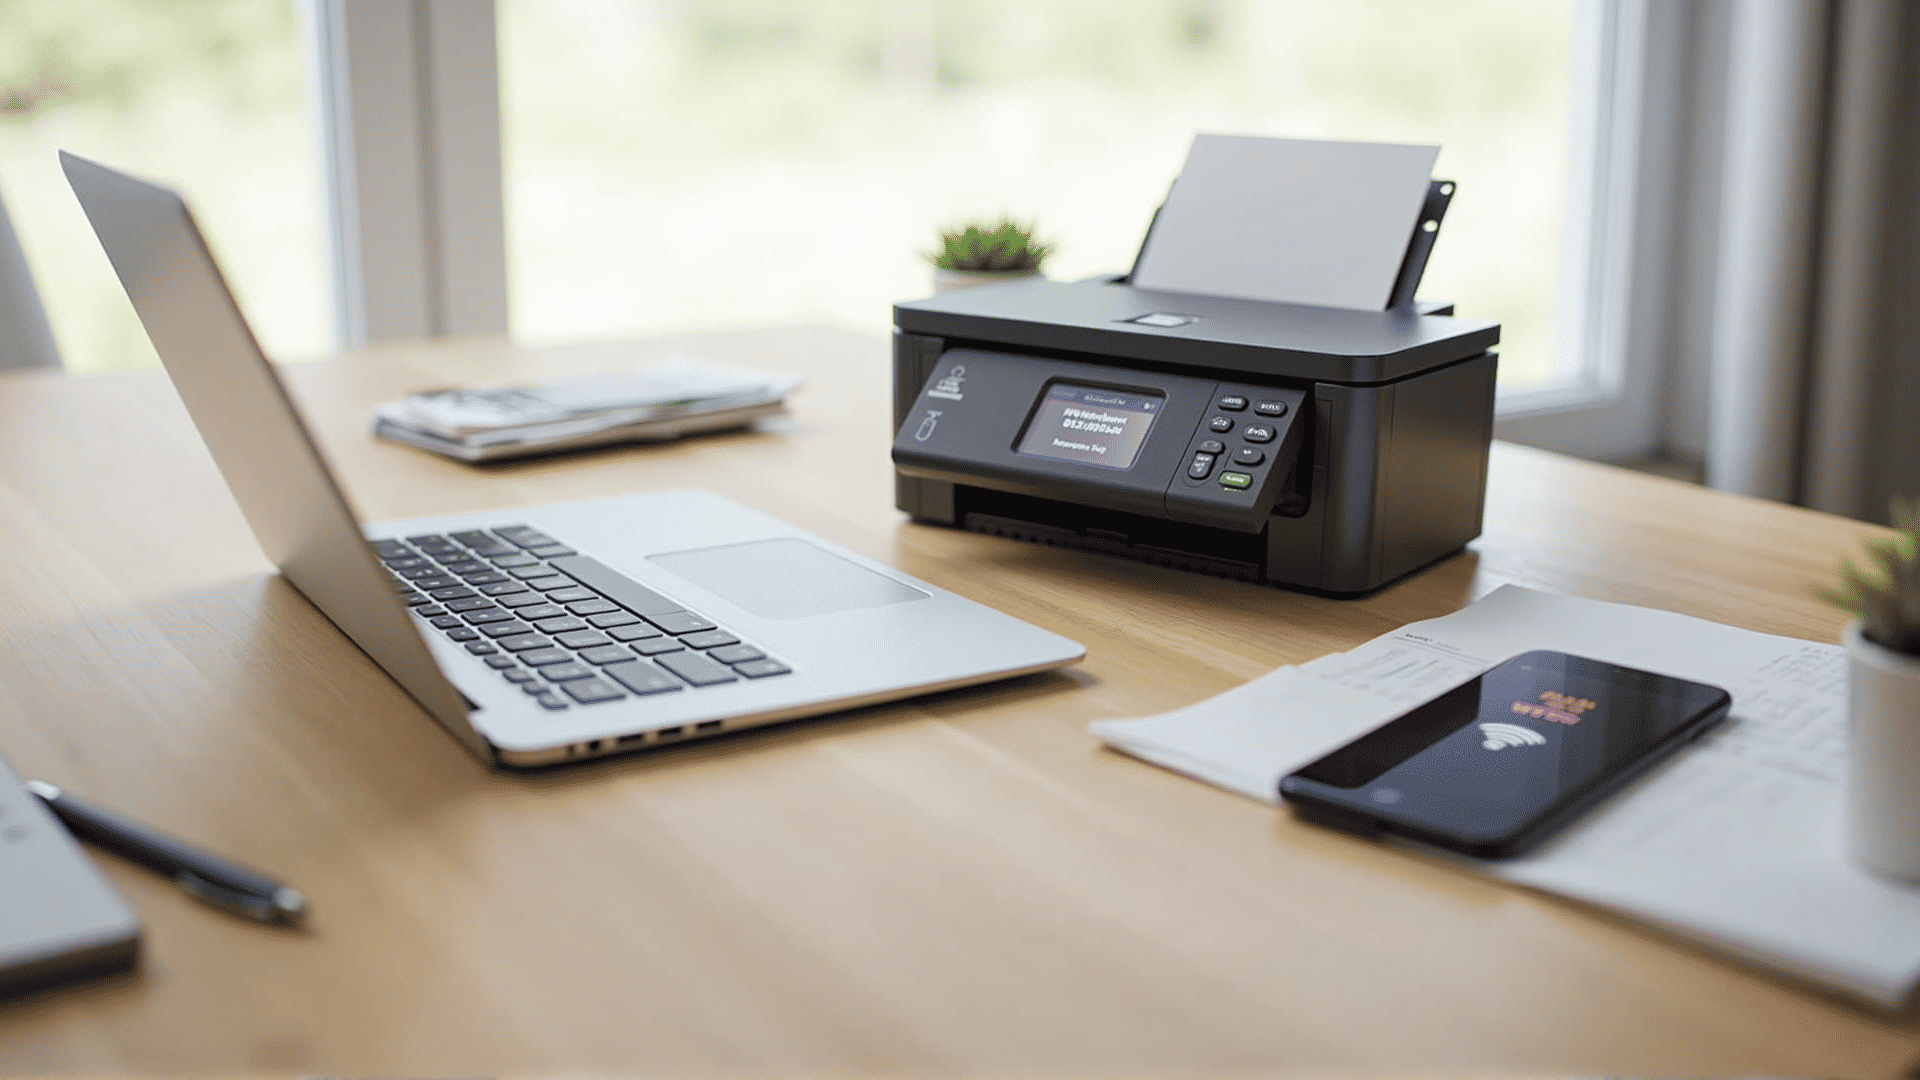
Most modern printers come equipped with built-in Wi-Fi capabilities, allowing you to connect to your existing home or office network. Before you begin the configuration process, consult your printer's manual to identify its connectivity features. Some printers may also support Bluetooth or NFC, offering additional flexibility for various devices.
2. Connecting to the Network
To integrate your printer into your network, you need to connect it to your Wi-Fi. Start by navigating to the printer's settings menu, usually accessible via its control panel or touchscreen display. Look for options related to network settings or Wi-Fi setup.
-
Wi-Fi Protected Setup (WPS): If your router supports WPS, this method is one of the easiest. Simply press the WPS button on your router, then select WPS mode on your printer. The devices will automatically connect.
-
Manual Wi-Fi Setup: Alternatively, you can manually enter your network's SSID and password. This might require using the printer's control panel to input the necessary information, following on-screen instructions.
3. Installing Printer Drivers
Once your printer is connected to your network, it's crucial to install the appropriate drivers on your computer or device. Drivers facilitate communication between your printer and the device from which you intend to print.
-
Automatic Installation: Many modern operating systems can automatically detect your printer and prompt you to install the necessary software. Ensure your computer is connected to the same network as your printer for seamless detection.
-
Manual Installation: If automatic installation isn’t available, visit the printer manufacturer's website to download the latest drivers and software. Follow the installation instructions provided to complete the setup.
4. Configuring Devices to Print
After the drivers are in place, configure each device you plan to use for printing. Additional settings might include:
-
Default Printer: On your computer, set your newly configured wireless printer as the default to streamline future print jobs.
-
Mobile Devices: For smartphones and tablets, download the printer’s companion app, if available. This app typically simplifies printing tasks by allowing direct printing from the device.
5. Testing Your Setup
To ensure everything's running smoothly, perform a test print. On your computer or device, select a document or image, open the print dialog, and choose your wireless printer from the list. Confirm that the printer responds correctly and the output is of expected quality.
6. Troubleshooting Common Issues
If you encounter connectivity issues or printing errors, consider these troubleshooting tips:
-
Signal Strength: Ensure that your printer is within range of your Wi-Fi router. Physical barriers like walls and furniture can affect connectivity.
-
Reboot Devices: Sometimes, simply restarting your printer, router, or device can resolve temporary glitches.
-
Driver Updates: Periodically check for driver and firmware updates from the printer manufacturer to maintain compatibility and improve performance.
By following these steps, you'll establish a reliable connection between your wireless printer and devices, enabling an efficient and hassle-free printing experience. Welcome your newfound productivity and the reduced clutter of wires, as you enjoy the benefits that come with modern wireless technology.